Industry Updates
You can master the latest information, new product , exhibition, promotion, etc
WARNING: This product contains nicotine. Nicotine is an addictive chemical.
WARNING: This product contains nicotine. Nicotine is an addictive chemical.

You can master the latest information, new product , exhibition, promotion, etc
You can master the latest information, new product , exhibition, promotion, etc

Release time:2026-01-14 10:51:34Views:
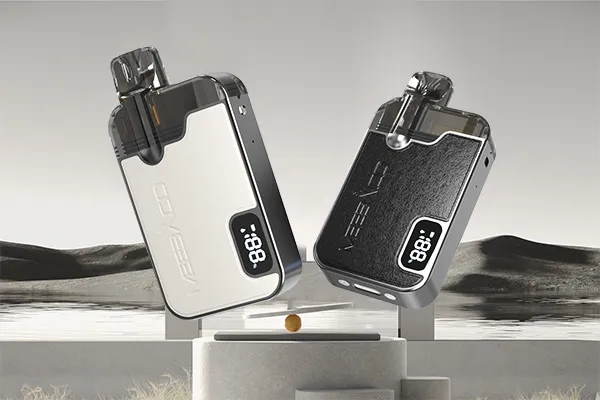
In the rapidly evolving world of vaping, pod-based vapes have gained immense popularity due to their portability, ease of use, and versatile experience. Among the key features that attract vapers is the "one device multiple pods" design. If you're new to pod vapes or looking to optimize your usage experience, understanding this concept and mastering proper pod replacement techniques is crucial. This guide will break down what "one device multiple pods" means and share essential tips for seamless pod replacement.
What Exactly Is "One Device Multiple Pods" for Pod-Based Vapes?
The term "one device multiple pods" refers to a core design of pod-based electronic cigarettes, where a single vape device (often called a "vape pen" or "vape mod") is compatible with multiple replaceable pods (known as "vape pods"). In simple terms, it’s similar to how a single gun can use multiple magazines—once one pod is exhausted (either the e-liquid is used up or the atomizer core wears out), you can easily replace it with another pod instead of discarding the entire device.
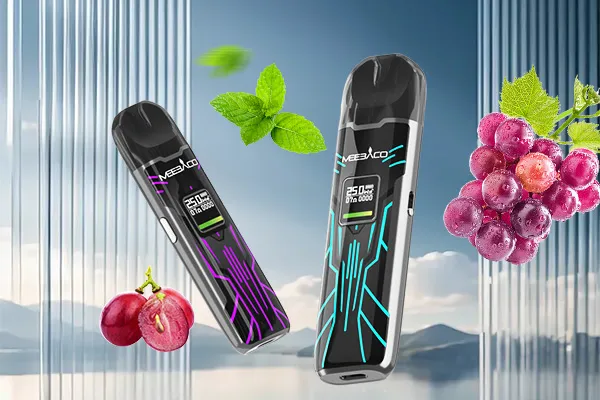
These replaceable pods typically integrate the e-liquid storage tank and the atomizer core into a single unit, making them compact and user-friendly. The "one device multiple pods" design offers several key advantages for vapers:
- Flavor Versatility: You can keep multiple pods pre-filled with different e-liquid flavors (such as tobacco, fruit, dessert, or mint) and switch between them in seconds. This eliminates the need to clean the tank when changing flavors, saving time and avoiding flavor mixing.
- Cost-Effectiveness: Instead of purchasing a new device when the atomizer core fails or the tank is damaged, you only need to replace the pod. This significantly reduces long-term vaping costs compared to disposable vapes or devices with non-replaceable cores.
- Convenience & Portability: Carrying multiple small pods is much easier than transporting multiple full-sized vape devices or bottles of e-liquid. It’s ideal for on-the-go use, allowing you to switch your vaping experience anytime, anywhere.
- Hygiene & Freshness: Using a new pod for different flavors or after prolonged use helps maintain hygiene and ensures the freshness of the e-liquid. Old pods can accumulate residue that affects flavor and vapor quality, so regular replacement keeps your vaping experience consistent.

Basic Essential Tips for Vape Pod Replacement
Proper pod replacement is not only about convenience but also about preventing common issues like leakage, burnt taste, and device damage. Follow these essential tips to ensure a smooth and safe replacement process:
1. Power Off the Device Before Replacement
Always turn off your vape device before removing or installing a new pod. This prevents accidental activation of the heating element during the replacement process, which can cause burnt wicks (if the new pod hasn’t been primed) or even e-liquid splattering. For most pod vapes, you can turn off the device by pressing the power button 5 times in quick succession.
2. Check Compatibility of the Pod
Not all pods are universal—ensure the pod you’re using is compatible with your specific vape device. Some brands produce "compatible pods" (non-branded pods designed to work with specific devices), but using incompatible pods can lead to poor connections, leakage, or even damage to the device’s battery or circuit board. Always check the product specifications or consult the manufacturer’s guide to confirm compatibility.
3. Inspect the Pod and Device Connections
Before installing a new pod, take a moment to inspect both the pod’s connector and the device’s connection port. Look for any signs of e-liquid residue, dust, or debris, as these can interfere with the electrical connection and cause the device to malfunction. Use a clean, dry cloth or a cotton swab to gently wipe away any dirt or residue. Additionally, check the pod’s rubber seals (O-rings) for cracks, tears, or missing pieces—damaged seals are a common cause of leakage.
4. Prime the New Pod (If Necessary)
Most pre-filled pods come pre-primed, meaning the atomizer core is already saturated with e-liquid. However, if you’re using refillable pods, you must prime the core before use to avoid burnt taste. To prime a refillable pod: fill the pod with e-liquid, let it stand for 5-10 minutes, and gently puff on the pod (without activating the device) 2-3 times to draw e-liquid into the wick. This ensures the wick is fully saturated and prevents dry burning.
5. Install the Pod Correctly and Securely
Align the pod with the device’s connection port correctly—most pods have a specific orientation (indicated by a logo or a notch). Insert the pod firmly into the device until you hear a "click" sound, which confirms it’s locked in place. Avoid forcing the pod or twisting it excessively, as this can damage the connectors or the pod’s seals. After installation, give the pod a gentle tug to ensure it’s securely attached.
6. Avoid Overfilling Refillable Pods
If you’re using refillable pods, never fill the e-liquid above the maximum fill line (usually marked inside the pod). Overfilling can cause e-liquid to leak out of the pod, seep into the device’s battery compartment, or be drawn into your mouth when vaping. It’s recommended to fill the pod to 2/3 of its capacity to leave enough space for air pressure adjustment, which helps prevent leakage.
7. Let the New Pod Settle Before Vaping
After installing a new pod (especially refillable ones), let the device sit for 1-2 minutes before vaping. This allows the e-liquid to fully settle in the wick and the atomizer core, ensuring consistent flavor and vapor production. Vaping immediately after installation can result in uneven flavor or a slight burnt taste, even if you’ve primed the pod.
8. Dispose of Used Pods Properly
Used vape pods contain residual e-liquid, which may contain nicotine and other chemicals that are harmful to the environment. Do not discard used pods in regular trash—check your local regulations for proper disposal methods. Many vape stores and recycling centers offer collection programs for used vape pods and other vaping accessories.
Final Thoughts
The "one device multiple pods" design is one of the key reasons why pod-based vapes are so popular among both beginners and experienced vapers. It offers unmatched convenience, flavor versatility, and cost-effectiveness. By mastering the basic pod replacement tips outlined in this guide, you can avoid common issues like leakage and burnt taste, and enjoy a smooth, consistent vaping experience.
Remember, proper maintenance of your vape device and pods not only improves your vaping experience but also extends the lifespan of your device. If you encounter persistent issues like leakage or no vapor production after replacing the pod, check the device’s connections again or consult the vape manufacturer’s customer support.